Inspirations
SEWING TUTORIAL:
“Bow tie”

Time required
2-3 hours
Creation of the bow tie and preparation of
the tutorial: Marillon, Lausanne, Switzerland
www.marillon.ch
![]() MATERIALS
MATERIALS
- Marillon sewing pattern
- 1/4 yard of 45” wide fabric
- ¼ yard of 45” wide stiff fusible interfacing *
- sewing thread, same color as the fabric
- three buttons
- protective cloth (white or black cloth)
- turning tool (other option: a chopstick)
- iron
- chalk, pins, needle, scissors
![]() ACCESSORIES
ACCESSORIES
- Button foot (T) (ref. 200-136-024)
- automatic buttonhole foot (R) (ref. EL39571985)
- eXperience 580+
* Before you start: the stiff fusible interfacing’s purpose is to stiff en the fabric. If you choose a material that is rather stable or thick such as linen, the stiff fusible interfacing is not necessary and you can skip steps 4 and 5 of the tutorial.
Which fabric do I choose? Standard bow ties are usually made of silk. For a more casual look, a linen or cotton fabric will do the trick.
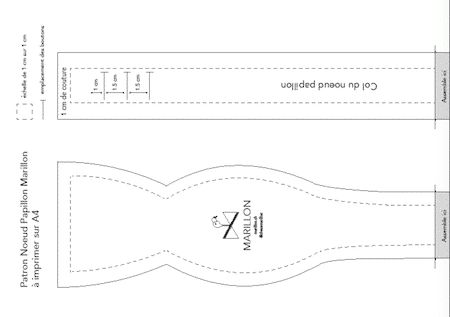
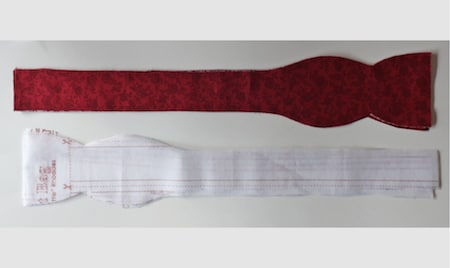
The pieces. The Marillon bowtie is made up of two pieces and its size can be adjusted thanks to three buttons ranging from XS to XL or 7/8” to 1”.
![]() INSTRUCTIONS
INSTRUCTIONS
1.
Download the Marillon sewing pattern available on the Elna website under the “Inspiration” section. Print it on an 8.5” X 11” page, and using a ruler check that the scale of the square pattern measures 1 cm x 1 cm. Cut out the pattern and assemble both ends.
2.
Set your iron to the recommended temperature for the chosen fabric. Iron it carefully and fold it along the edges.
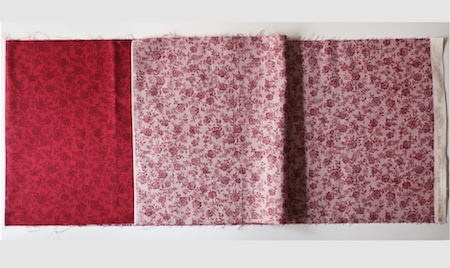
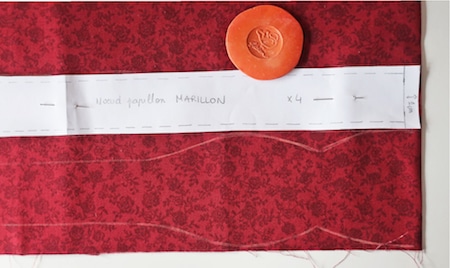
3.
Lay your pattern along the length of the fabric. Trace the outline with the chalk. Then cut the fabric following your outline. Repeat this step. You should now have four pieces cut out.
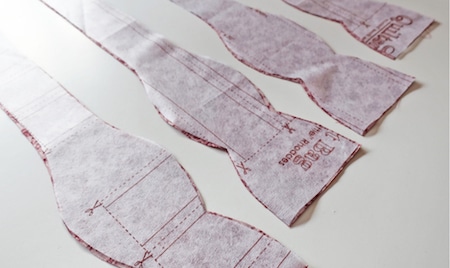
4.
Repeat step 3 for the fusible interfacing. You can use a pen to draw the outline of the pattern more easily.
5.
To adhere the fusible interfacing to your fabric, first lay the fabric so that the underside is in front of you on the ironing board. Lay the underside of the interfacing, which is noticeable because of its small glue grains, on top, and then lay the protection cloth on top. Then press and slide the iron evenly over the entire piece. If you have never used fusible interfacing before, be sure to test on a small piece of fabric first!
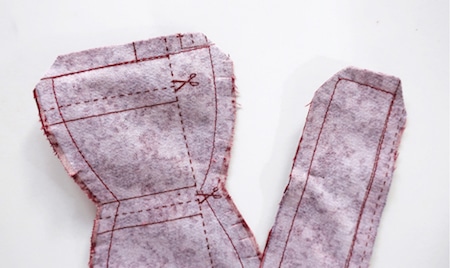
6.
Pin the pieces of fabric together by placing them on top of each other. Leaving a seam allowance of ½”, you can now sew all around the outline leaving an opening of about 3” on one side of the narrow band, at the collar of the bow tie.

7.
Notch the rounded shapes paying close attention to the seams. It is important to notch, otherwise the stitch will frown and the result won’t be as elegant.
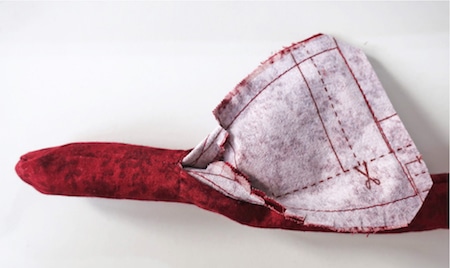
8.
With the turning tool or chopstick, turn the two pieces right side up by passing them through the opening of about 3”. Iron and then close the opening with a straight seam. Make a knot before and after sewing.
9.
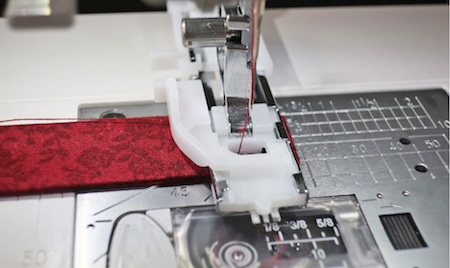
Install the automatic buttonhole foot (R) and place the button in the space provided at the back of the foot. On your fabric, mark the location of the buttonholes as indicated on the pattern. Then, for each buttonhole, place your fabric under the presser foot and align the needle over your starting point. Choose a type of buttonhole and sew while guiding the fabric.
10.
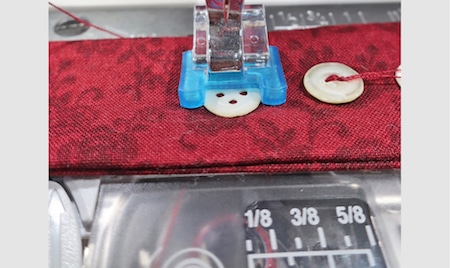
Install the button foot (T). Lower the feed dogs of your machine to prevent the fabric from moving forward and set your machine to a zigzag stitch [stitch 10/mode 1 on the eXperience and eXcellence Elna models]. Mark the location of the buttons on your fabric, then center your fabric as well as the button under the button foot. Check that the size of the zigzag is suitable for the button by manually lowering the needle and, once you have the right spacing, you can use the pedal.
11.
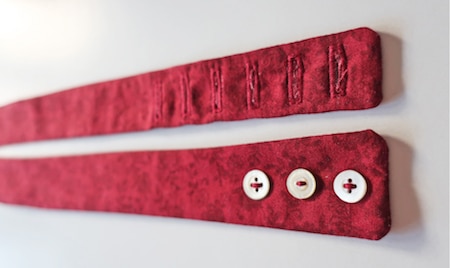
Congratulations, you have just made a Marillon bow tie. And if you don’t know how to tie it, don’t worry. Find out how with our step by step video tutorial available at: www.marillon.ch With a little practice, you’ll be able to tie one with your eyes closed.
© Elna International Corp. SA, all rights reserved
Copyright
The authorization to use this documentation is hereby granted exclusively for non-commercial use. The contents of this documentation are the sole property of Elna International Corp. SA. This documentation shall not in any way constitute a right to transfer any rights with respect to copyrights of Elna International Corp. SA to the user or to third parties.