Inspirations
SEWING TUTORIAL:
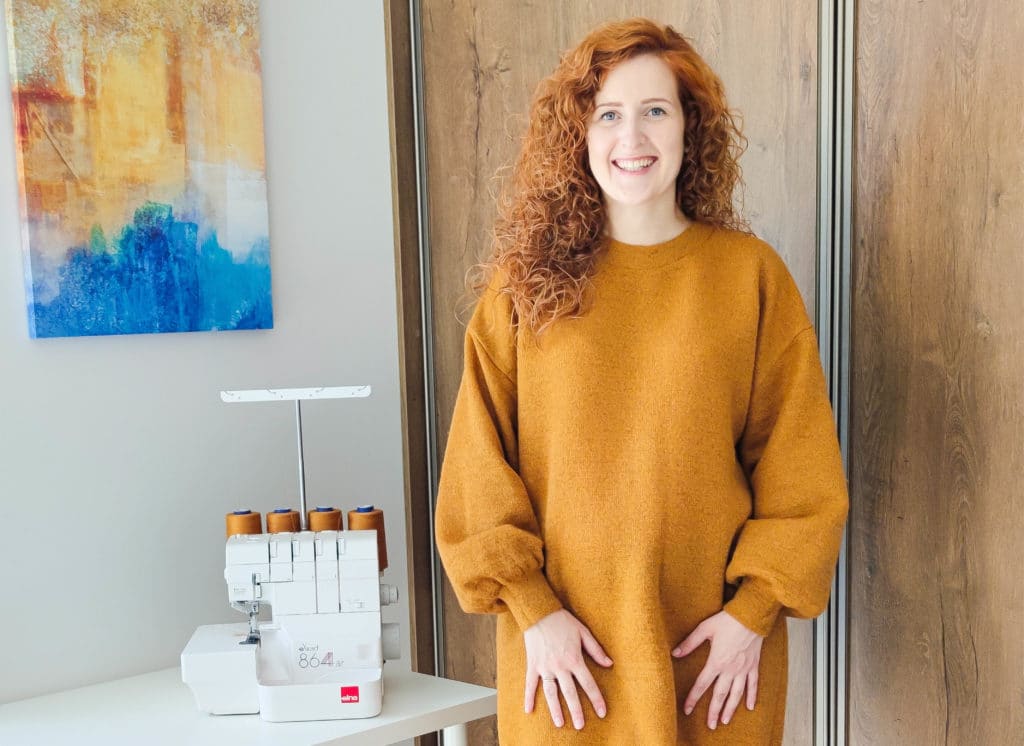
” Oversize sweater dress“
© Elna International Corp. SA, all rights reserved
Dress creation and preparation of tutorial: Sewing julie
www.sewingjulie.com
![]() MATERIALS
MATERIALS
- Heavy knit fabrics or chunky knits
- 1.6 meters (1.5m width fabric)
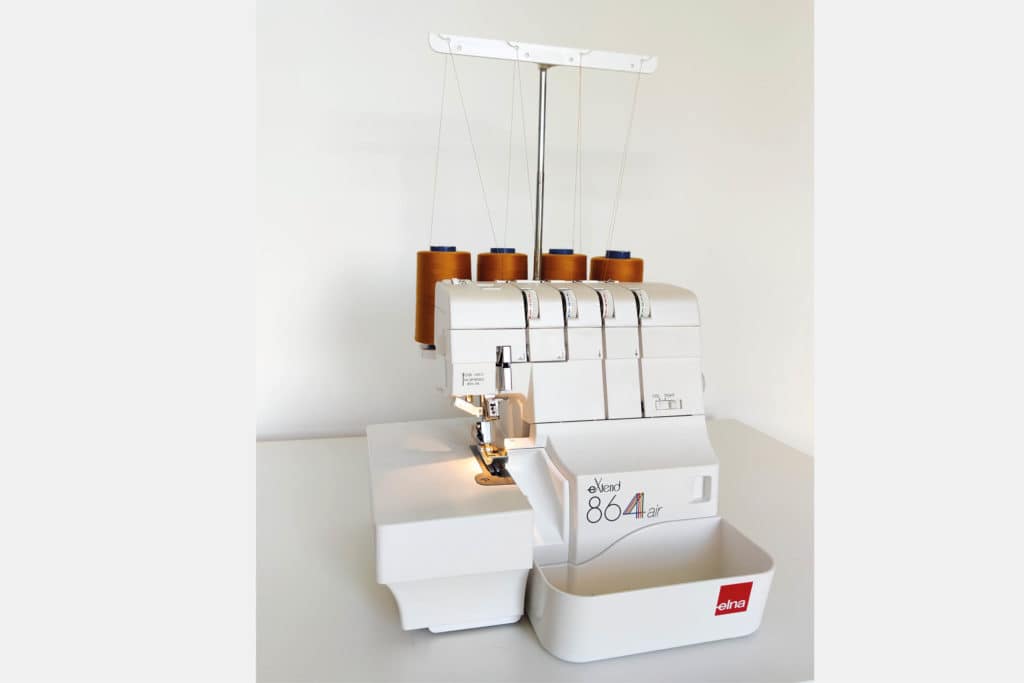
![]() MACHINE AND ACCESSORIES
MACHINE AND ACCESSORIES
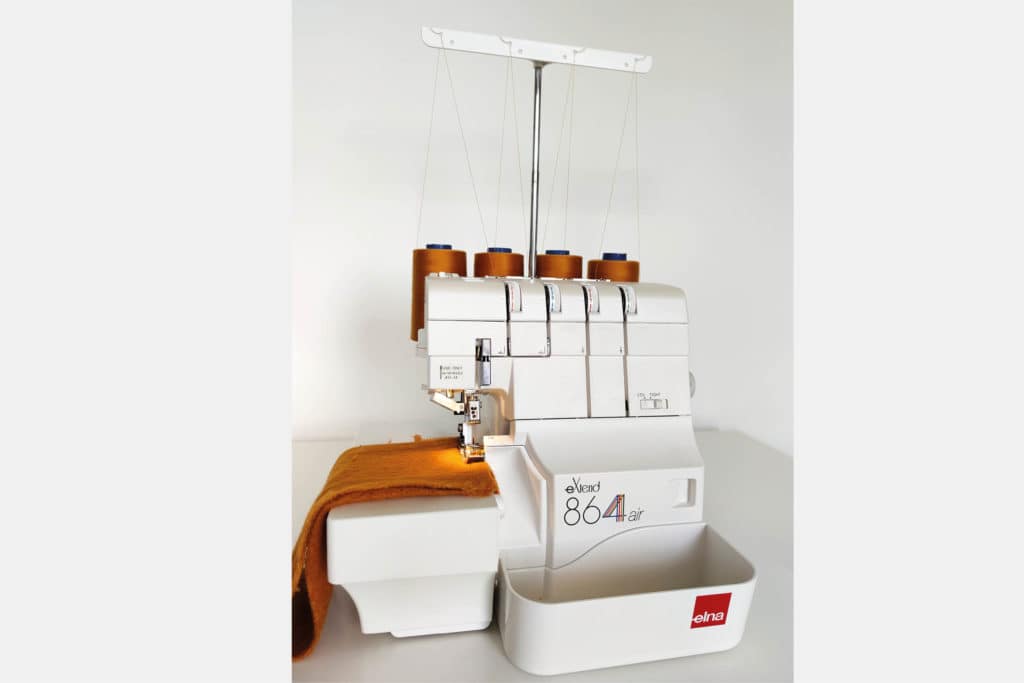
- Elna overlock machine. In this tutorial we use the eXtend 864air
- Standard overlocker foot
![]() INSTRUCTIONS
INSTRUCTIONS
1.
Prepare fabric before cutting out the pattern. When working with knits, it is recommended to either wash it or steam it using steam generating iron, to pre-shrink the fabric and avoid shrinkage in later steps. Once the fabric is prepared, cut out pattern details, adding approx. 1cm for seam allowance.
2.
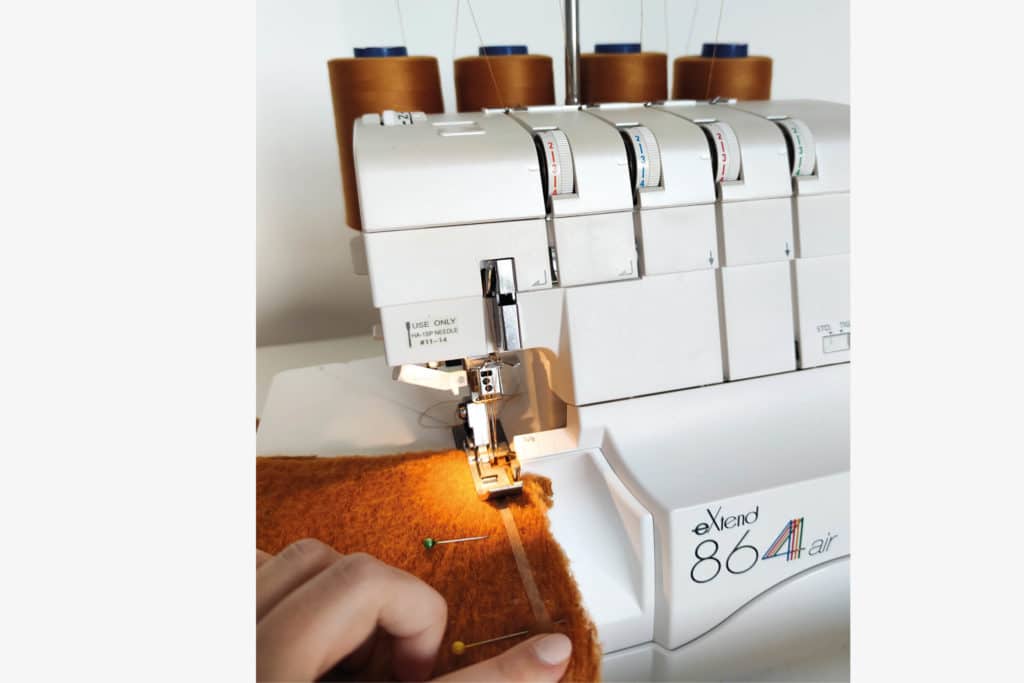
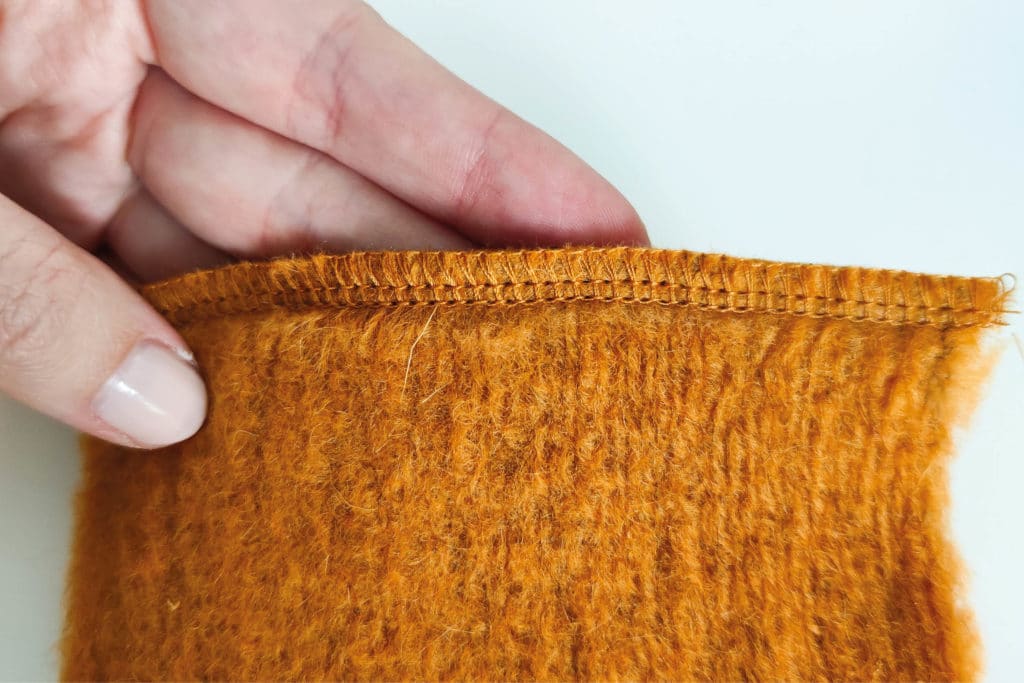
Set an overlock machine for work and thread it with 4-threads, matching the color of fabric. Make a few sample stitches on chosen fabric, to make sure the settings are correct and create perfect 4-thread overlock seam.
3.
Take front and back pieces, put them right sides together and pin at shoulder lines. Once pinned, sew each shoulder line with 4-thread overlock stitch (Important: always remove the pin before the overlock knife hits it!).
Optional: to stabilize the shoulder seam, you can add a narrow silicone strap beneath needles while sewing – this will ensure that shoulders do not stretch out while wearing the garment.
Once shoulders are sewn together, iron the seams, pushing them to the back side of the garment.
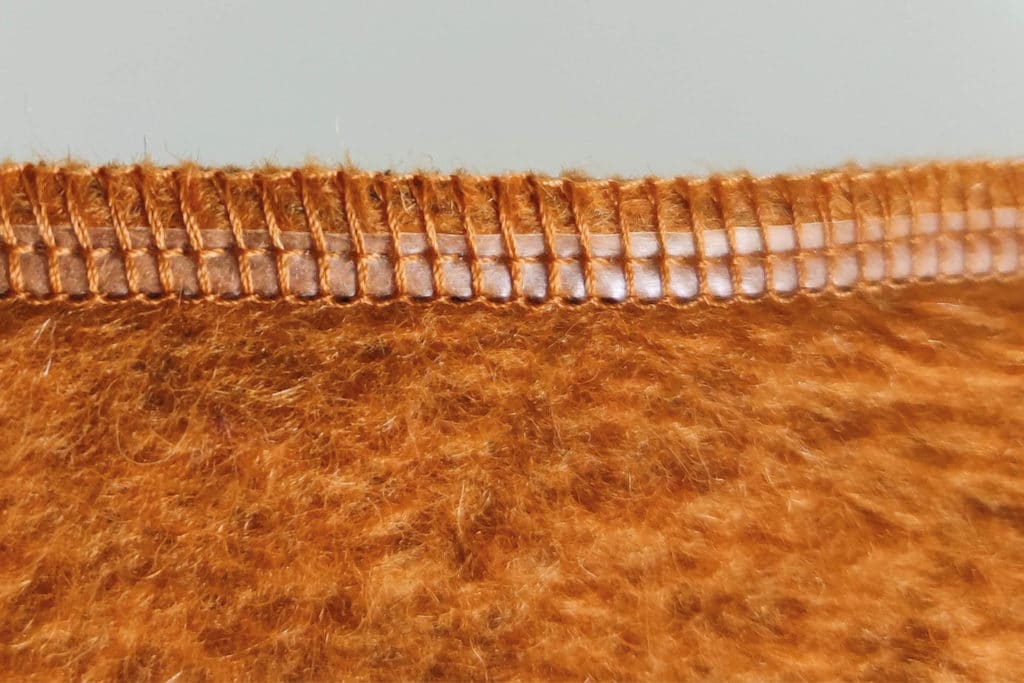
Here is how a 4-thread overlock seam looks with stabilizing silicone strap.
4.
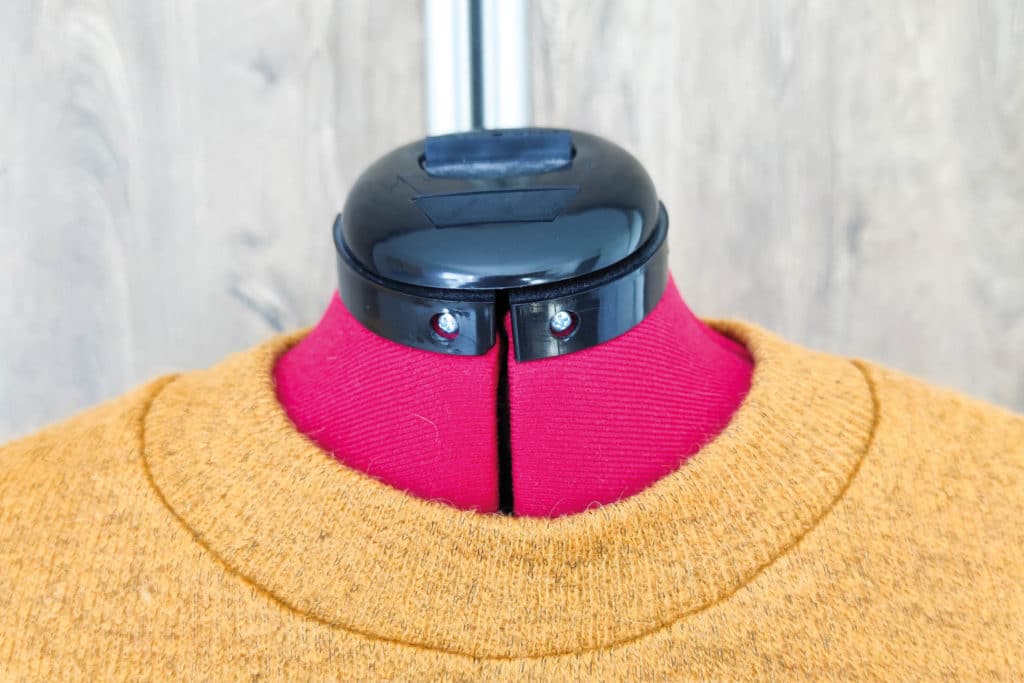
Take the neckline piece, fold it half and sew through the “back seam” line, using 4-thread overlock stitch.
Fold the neckline piece in half lengthwise and iron. With the garment inside out, take the neckline piece and pin to bodice: match the neckline back seam with center back, match shoulder markings with shoulder seams and match front center marking with front center. Start sewing with 4-thread overlock seam, slightly pulling the neckline piece, so that it fits into the neckline of the bodice, without creating any gathers or puckering. Iron the neckline.
5.
While the sides of the garment are not sewn together, it’s time to sew-in the sleeves (open sleeve install method). Take a sleeve piece, put it right sides together with bodice pieces and pin in place. Sew with 4-thread overlock seam. Repeat with the second sleeve. Iron the seams, pushing them towards the garment side. shoulders do not stretch out while wearing the garment.
6.
Once the sleeves are installed and garment is right side-in, pin front and back pieces on both sides, making sure that armhole seams are matched. Sew both sides with 4-thread overlock seam. iron the seams.
7.
Take the hemline piece, fold it half and sew through the “side seam” line, using 4-thread overlock stitch. Fold the hemline piece in half lengthwise and iron. With the garment inside out, take the hemline piece and pin to the bottom of the bodice: match the side seam with the garment side seam and match the middle of the hemline with another garment side seam. Start sewing with 4-thread overlock seam, slightly pulling the hemline piece, so that it fits into the bottom of the bodice, without creating any gathers or puckering. Iron the seam pushing it toward the garment side.
8.
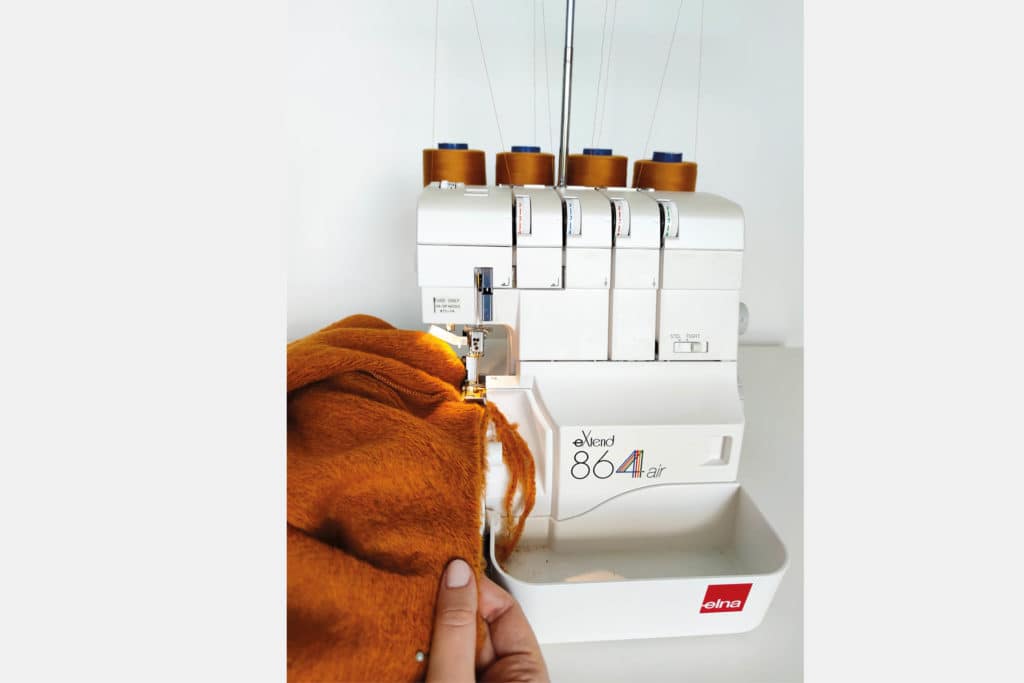
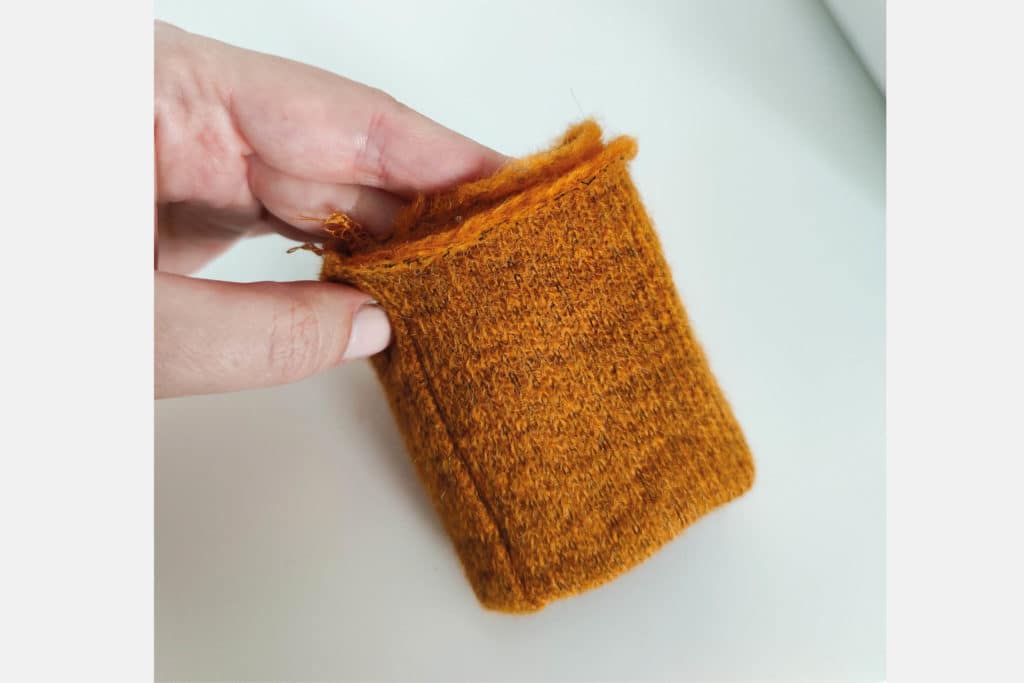
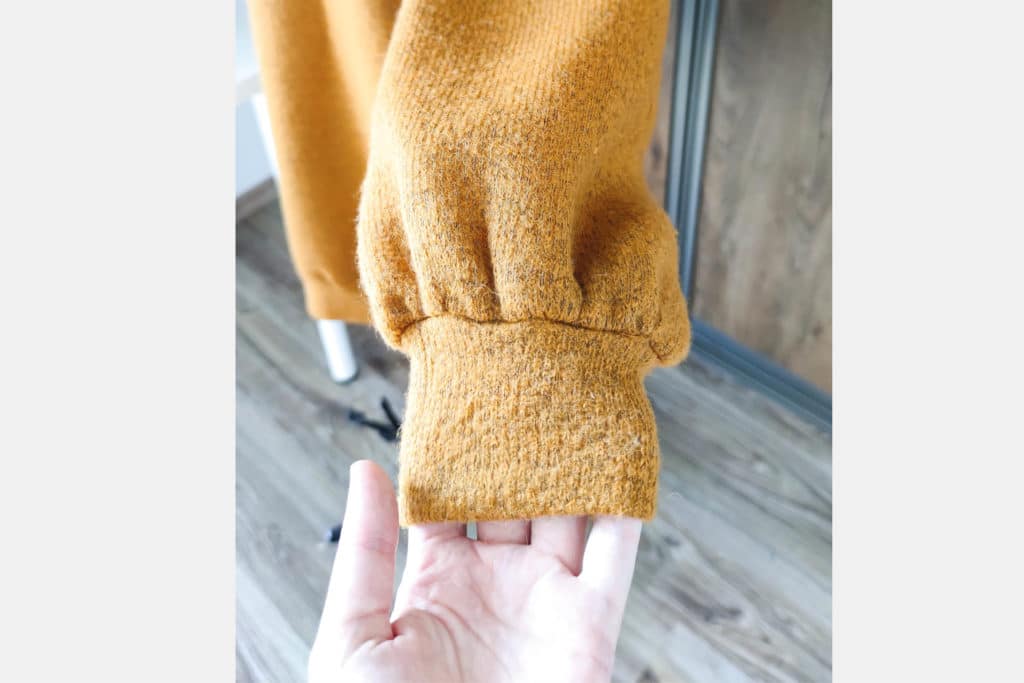
Take one cuff piece, fold it half and sew through the “side seam” line, using 4-thread overlock stitch. Fold the cuff piece in half lengthwise and iron. With the garment inside out, take the cuff piece and pin to the bottom of the sleeve: match the side seam with the sleeve seam and match the middle of the cuff with the middle of the sleeve bottom. Start sewing with 4-thread overlock seam, slightly pulling the cuff piece, so that it fits into the bottom of the sleeve, without creating any gathers or puckering. Iron the seam pushing it toward the garment side.
9.
Give the dress a good press and it’s finished!
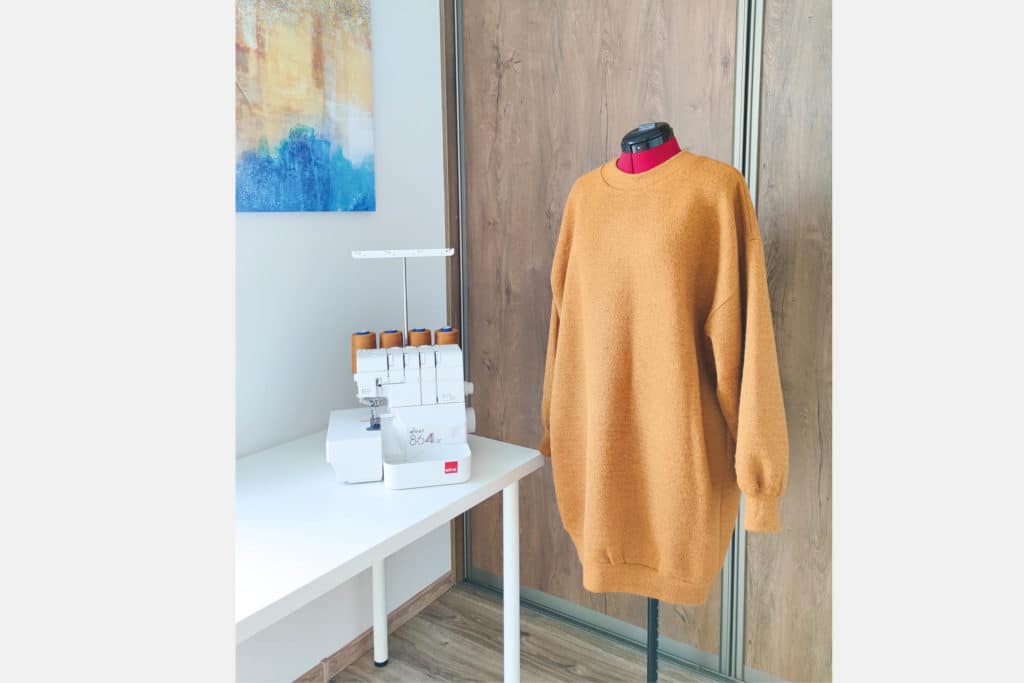
Congratulations, your dress is finished!
© Elna International Corp. SA, all rights reserved
Copyright
The authorization to use this documentation is hereby granted exclusively for non-commercial use. The contents of this documentation are the sole property of Elna International Corp. SA. This documentation shall not in any way constitute a right to transfer any rights with respect to copyrights of Elna International Corp. SA to the user or to third parties.